I was at a show at our local veterinarian, and I took shots that were all ad-hoc and casual. I just walked around the show and took in what I could. There were rescue dogs from a volunteer rescue organization there, and I took a lot of shots of their shepherds.
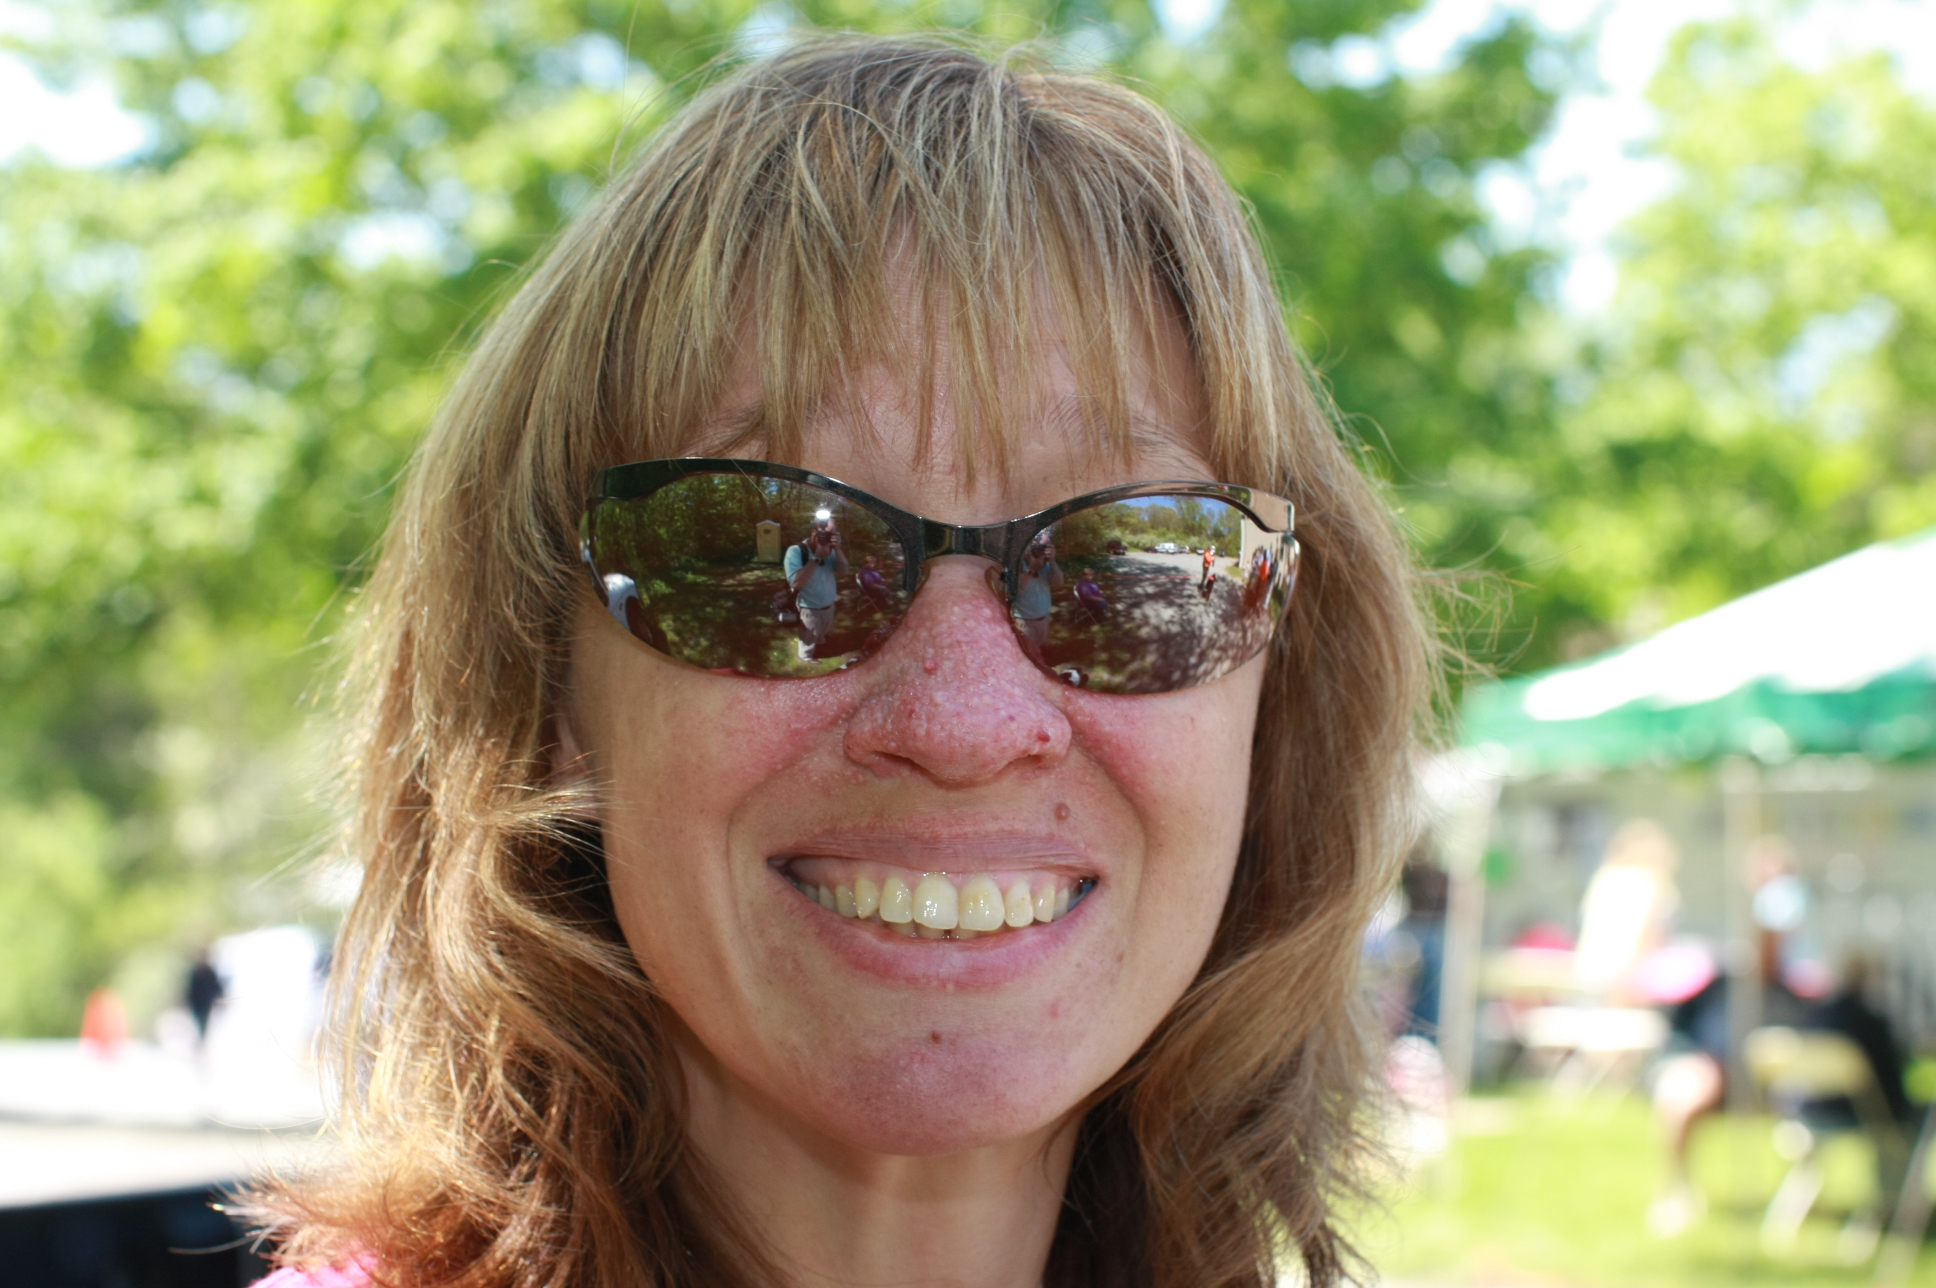
I also took a few candid portraits, and one of them provides a great opportunity to show just how dramatic a photoshop makeover can be, as well as fix a common mistake of mine by letting my self be caught in the reflection of the subject.
Here is the original, from thumbnail:
So what we want to do are basically two things:
1. Flatter our subject with touch-ups
2. Remove my reflection from the sunglasses
So the first thing to do is load the .CR2 RAW file into Adobe Camera RAW CS3 by double-clicking on it. We should be here:
Well, even from that thumbnail you can see me in the glasses. But first let’s get this image on track from a high level by making all the adjustments needed to get it ready for processing in Photoshop.
I shot it at 5000, and ACR (Adobe Camera RAW) wants to apply a color temperature of 5500. Lets split the difference at 5250.
Next, try Auto exposure adjustment and see how the system thinks the picture should look. This is almost always wrong, but can give you some good ideas on what to change and how. This time, I really like what it did:
I like this as a starting point, but the histogram shows no blacks, or at least a lot less than other brightnesses in the image. So I took Blacks from 8 to 13:
What a difference! That has saved us from going in and darkening the hair on the left that had gotten way too much light. Next we move Vibrance to 13 and Saturation to 5:
All set! Now we click Open Image at the bottom right of ACR, and the RAW file is loaded into Photoshop:
The first thing I’ll do is touch up the face. To do this, I like to copy the background layer with CTRL-J, and name it “working background“:
I do this because I really don’t want to mess with the bottom, original layer. I can’t go back to the original if I do. So view only the working background by deselecting the eye for the Background layer. Select Spot Healing Brush Tool, and set as follows:
To adjust the size of the brush, use the bracket keys ([ and ]). After working on the blemishes, you should have something like this:
Next we’ll work on the teeth. I have a simple trick to lighten certain areas.
First, make a copy of the working background layer with CTRL-J, and name it bright layer. With that layer still highlighted, make it 100% brighter than it is now with Image -> Adjustments -> Brightness/Contrast and set it to +100:
We’re not going to use this image as is. We’re going to create a mask that will only show certain parts of that brighter layer. To do this always remmber to make the adjustment to the layer, then create the mask for it.
To create a mask for a layer, be sure you have just black and white selected as your foreground and background colors (as in all the screenshots so far), and make the background black before this next step.
With the bright layer selected, hold down the ALT key. Next click the Add layer mask icon at the bottom of the layer rollout (the icon at the bottom that looks like a circle inside a square). If you don’t hold down Alt, the mask will be all white (foreground), meaning that all of the added layer will be visible by default. Black in the mask box on the right means areas that don’t show through, and white will.
With the same brush settings (soft) we used before, go over the teeth and watch how the brighter image only shows through where you click with the Brush tool:
Of course this is too much, but it is a good way to see easily which areas you’ve touched. Once done with the teeth, adjust the opacity of the layer from 100% down to a level that is appropriate. In this case, I used 63%:
Next, we need to take me out of the reflection in the sunglasses. Lets zoom in pretty close with the Alt key and the mouse wheel, and select the background layer. Copy it as before with the CTRL-J key, and rename it to glasses fix.
Move this new layer up to the top of the layer stack by clicking and dragging it:
Make this layer visible (the eye), and make the needed adjustments to this layer. Once done, we’ll add a mask to this layer to selectively add it to the rest of the layers. Use the Healing Brush Tool to make the larger adjustments, taking most of me out of one lens:
…then the other:
Not bad, but not the best we can do. We’ll finish it off with the Spot Healing Brush Tool like we did above:
Now to add the mask that will let us gradually blend these changes into the existing layers. Set the brush up for 100% opacity like this:
Don’t worry! We’re in the home stretch. With the mouse, click and drag over the areas where you see me in the glasses. Wherever you drag the mouse the image we just adjusted will shime through, showing the sunglasses without the thoughtless photographer:
If you change visibility to only the layer we are in, you’ll now see just the changes we added:
And all this time we haven’t altered the original layer at the bottom, so we can always go back to the original, and at the highest resolution! This leaves us with the final face touched up:
Some might think that the tent on the right is too distracting, so let’s make a quick blur layer to really blur the background out. Add a new copy of the working background layer, and call it blur layer:
Alter this layer with Filter -> Blur -> Gausian Blur and adjust the radius to +40.
Add a layer mask to this layer, but this time don’t click ALT. This will make the masked layer show completely. We do this because there is more to be blurred than not. To make the face in the image show, we’ll need to click and drag over it to reveal the layers beneath this one.
Change the current color to black, select the brush tool, and go over the parts you don’t want to be blurred:
When done, we have:
The final PSD file is a bit big to include here, but here is the final image:
Compare our final image with the original. What a difference!
This technique works great for taking yourself, or anything else, out of reflections in anything shiny, like paint, chrome, or even sunglasses!
Hope this helps!


